Thinking about listing your Graduate Hospital rowhome this spring but not sure where to start? You want a look that pops in photos, feels move-in ready, and does not require a remodel. This guide gives you a focused, room-by-room style checklist built for Graduate Hospital’s classic rowhouses, so you can get photo-ready with minimal stress. Let’s dive in.
Why styling matters here
Graduate Hospital homes often have narrow, deep floorplans, original woodwork, and compact outdoor spaces. Buyers in Center City-adjacent neighborhoods respond to bright, neutral finishes and clean, turn-key kitchens and baths. Early spring brings more competition, so clear, well-styled photos and small outdoor moments can help your listing stand out. Your goal is to honor original details while presenting a fresh, light-filled interior.
Your top 5 quick wins
- Paint: Refresh walls, trim, and the front door with warm neutrals that photograph clean and bright.
- Lighting: Swap dated fixtures, choose warm bulbs, and layer ambient, task, and accent light.
- Hardware: Coordinate cabinet pulls, knobs, and faucets in one cohesive finish.
- Declutter + vignettes: Clear surfaces, remove personal items, and add simple, lifestyle-forward styling.
- Stoop appeal: Clean the façade, repaint the door, upgrade house numbers, and add evergreen planters.
Room-by-room checklist
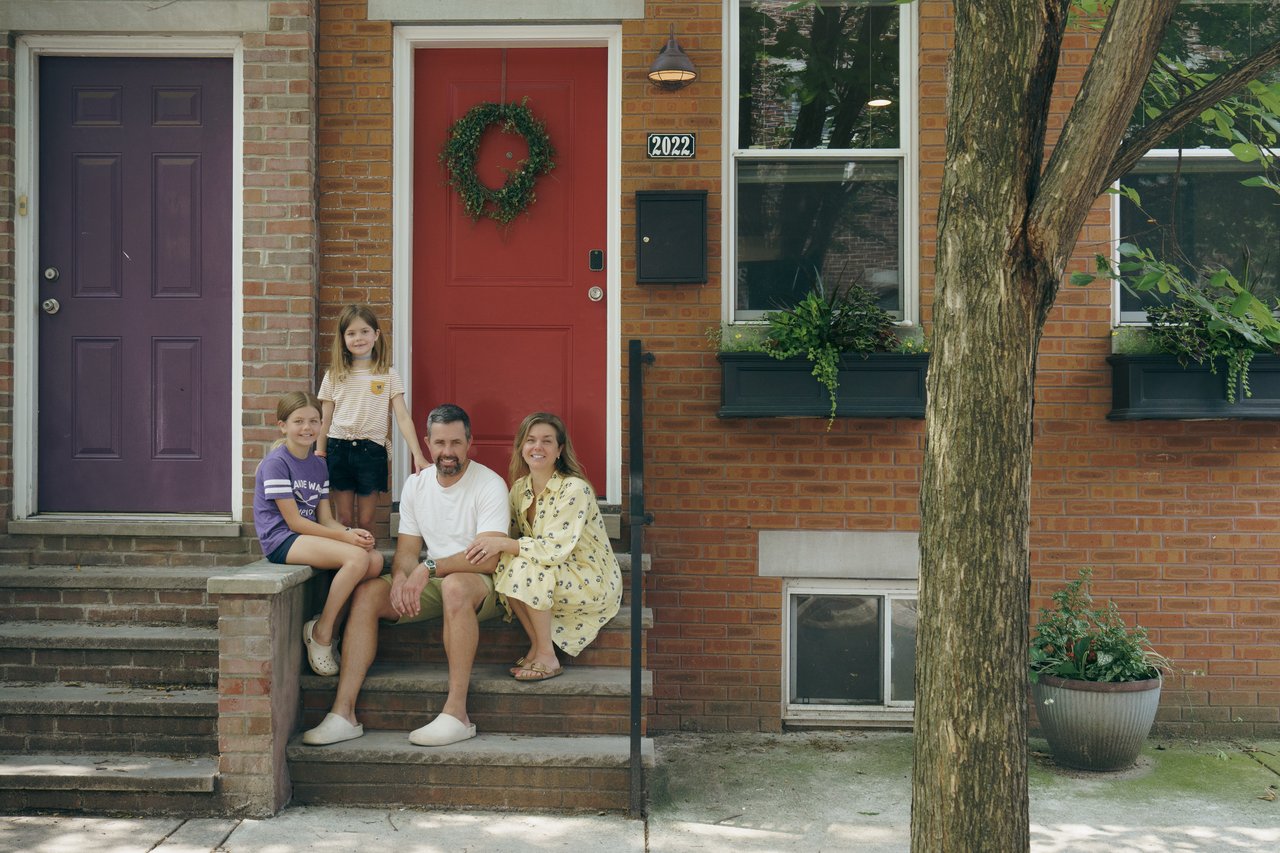
Exterior and stoop
- Power wash brick and steps, and clear cobwebs. Trim shrubs and sweep daily during showings.
- Repaint the front door in a classic bold color like navy, dark green, or near-black with a satin finish. Refresh or replace door hardware, mailbox, and house numbers.
- Add two matching planters with evergreen or boxwood for early spring.
- Replace or repaint the porch light and match it to the door hardware where possible.
Photo tip: Shoot the exterior at golden hour or midday for even light, with the stoop centered.
Entry and staircase
- Clear floors and add a slim console if space allows, styled with one vase or bowl.
- Consider a tidy stair runner that complements wood tones. Remove extra knickknacks.
- Replace the entry light with a compact pendant or sconce. Use warm light.
- Touch up scuffed banisters and trim. Polish woodwork to highlight original details.
Photo tip: Angle down the hall to show depth without exaggerating the narrowness.
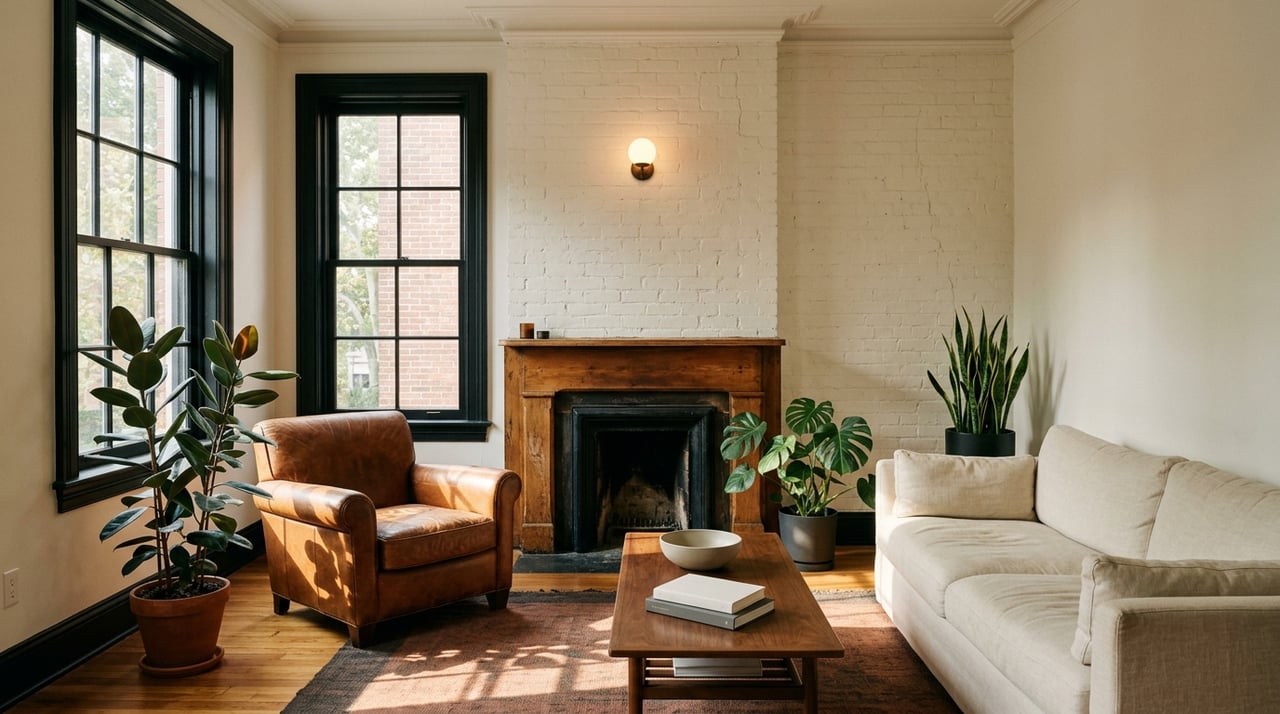
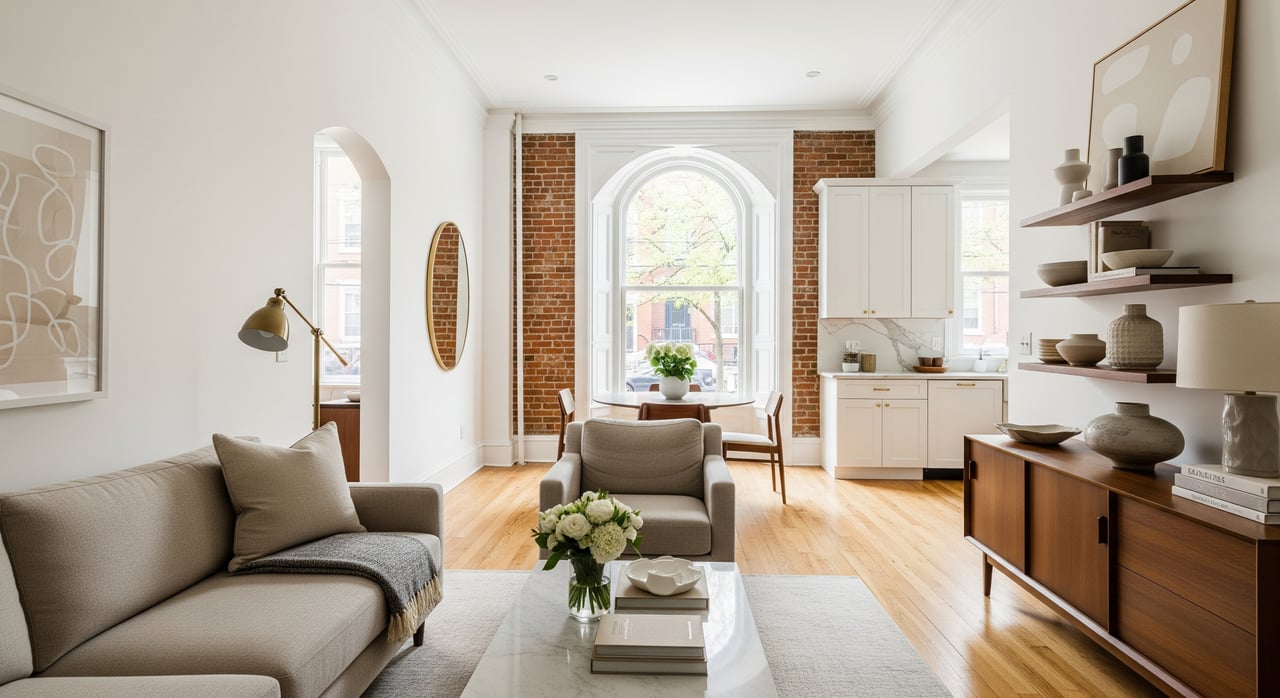
Living room
- Paint walls in a warm neutral and the trim in a slightly brighter white for subtle contrast.
- Scale furniture to the room width. A low-profile sofa with a pair of chairs keeps walkways clear.
- Layer lighting with a ceiling fixture, floor lamp, and table lamp.
- Update any visible built-in hardware for a cohesive finish.
- Style a simple vignette: a tray with a candle and book, fresh flowers, and a single statement art piece.
Photo tip: Pull furniture a few inches from walls and shoot from corners to capture moldings or a fireplace.
Dining area
- Keep the table clean with a minimal centerpiece like a low vase or a bowl of citrus.
- Replace a dated chandelier with a modern pendant or dimmable fixture.
- Straighten chairs and avoid visual clutter.
Photo tip: Minimal styling reads best and shows scale for entertaining.
Kitchen
- Deep clean everything, including appliances, grout, and counters. Clear the fridge doors.
- If cabinets need love, paint or refinish in a soft two-tone or neutral. If not painting, a simple hardware swap can be a strong upgrade.
- Update lighting with pendants over an island and task lighting under cabinets.
- Coordinate faucet and pulls in a single finish like matte black, brushed nickel, or brass.
- Keep counters nearly bare. One cutting board, a bowl of lemons, or a small potted herb is enough.
- Freshen the backsplash by cleaning or regrouting. Consider a quality peel-and-stick option for a quick refresh.
Photo tip: Close all cabinet doors, remove dish towels and sponges, and turn on all lights for brightness.
Bathrooms
- Recaulk and regrout as needed. Clean glass and polish fixtures.
- Swap vanity hardware and lighting for a brighter, modern look. Use warm bulbs.
- Choose crisp white towels and a small plant. Keep counters clear.
- If tile feels dated and budget allows, consider reglazing the tub or painting the vanity.
Photo tip: Shoot from the doorway with a tidy mirror reflection.
Primary bedroom
- Make the bed with neutral linens and a folded throw. Add 2–3 pillows, not more.
- Use matching nightstand lamps and remove personal photos.
- Replace or clean window treatments. Sheer curtains can maximize daylight.
Photo tip: Photograph from the doorway or a corner to include the bed and windows.
Secondary bedrooms and flex rooms
- Show function and flexibility, like a guest room or a simple home office.
- Use minimal, purposeful furnishings to show scale.
Photo tip: In small rooms, stage a clean desk setup to communicate everyday usability.
Basement or lower level
- Clean thoroughly and run a dehumidifier if needed. Address water stains.
- Stage as a rec room or organized storage. Keep mechanicals accessible and tidy.
- Have documentation ready for recent updates or repairs.
Photo tip: Light it well and avoid dark, low shots.
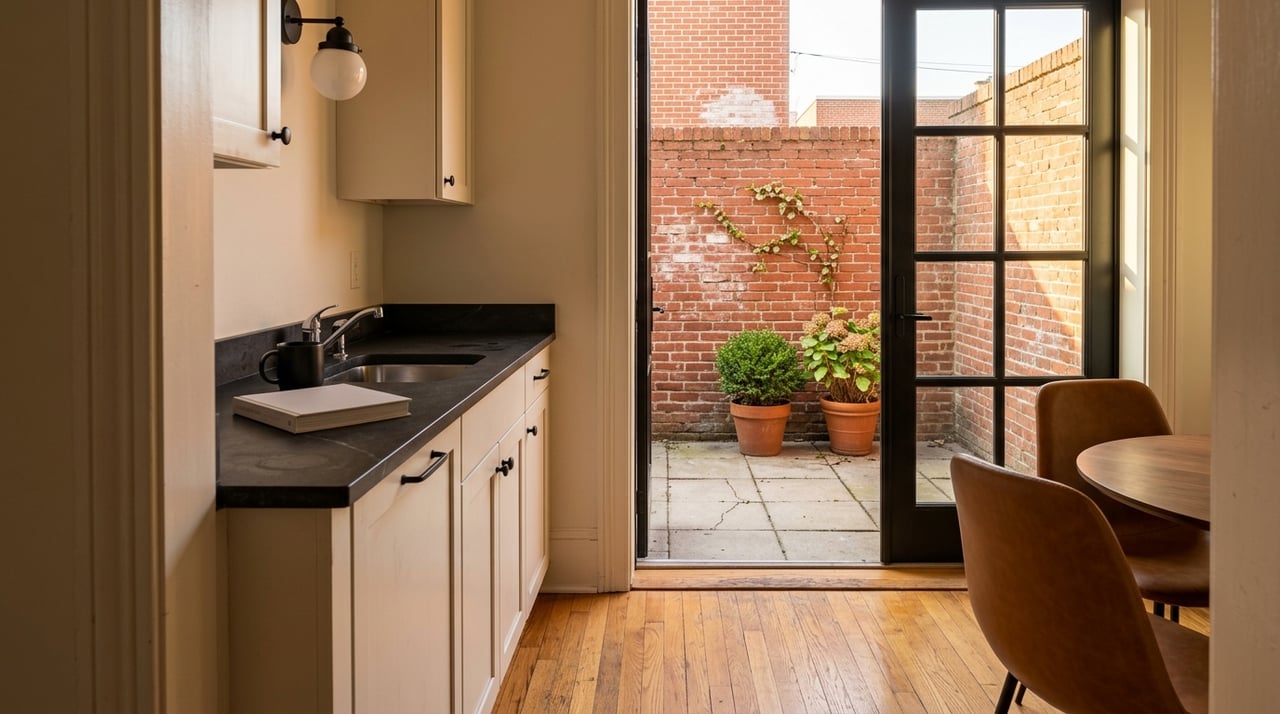
Rear yard or patio
- Clear clutter, sweep, and patch or paint fencing and railings.
- Stage with a compact bistro set or bench plus potted plants. Create a clear path from the kitchen.
Photo tip: Take one shot from inside looking out to show indoor-outdoor flow, then a daylight shot of the yard itself.
Lighting, hardware, and finishes
- Choose warm white bulbs at 2700–3000K for living spaces. Aim for high CRI 90 or above to render colors accurately in photos.
- Scale fixtures to narrow rooms. Try low-profile semi-flush mounts or slim linear pendants.
- Keep a cohesive hardware finish across visible areas. Matte black, brushed brass, polished nickel, or bronze photograph well.
- Replace discolored switch plates with clean white or matching finishes.
- Use mirrors thoughtfully to bounce light and add depth. Keep frames consistent with your finishes.
Easy vignette recipes
- Living room: Coffee table tray with one book, a small candle, and a single branch in a vase, plus a throw and two pillows.
- Kitchen: Woven cutting board propped at the backsplash, a bowl of lemons, and one neatly folded tea towel.
- Dining: Linen runner, one ceramic vase with greenery, and two placemats.
- Bedroom: Layered neutral bedding, one folded throw at the foot, one art piece above the bed, and a glowing bedside lamp.
- Entry: Slim console, round tray for keys, small mirror or art, and a plant.
Timeline to hit early spring
- 1–3 days: Declutter, deep clean, small repairs, and add styling vignettes.
- 1–2 weeks: Paint priority rooms, swap hardware, and install new fixtures.
- 2–6 weeks: Larger refreshes like cabinet painting or selective bath updates if needed.
- Final 1–3 days: Professional photography and any virtual staging.
Budget tiers that work
- Low budget: DIY paint in key rooms, hardware swaps, warm bulbs and a few lamps, deep clean, and small plants.
- Mid budget: Whole-home paint, a few new fixtures, cabinet hardware, and professional cleaning or light staging.
- Higher budget: Cabinet refacing or limited kitchen and bath updates, new flooring in select areas, and a full staging package.
Tip: Get multiple quotes for trade work and confirm permits for electrical or structural jobs.
Photography-day checklist
- Declutter every surface, remove personal photos, and tuck away bins, pet items, and laundry.
- Make beds and set fresh towels. Clear kitchen counters of small appliances.
- Open all blinds and curtains, and turn on every light and lamp, including under-cabinet lighting.
- Vacuum and spot-clean rugs. Hide extension cords.
- Add final vignettes, like fresh flowers or a bowl of fruit, and keep it simple.
Photographer coordination:
- Ask for bright interior exposures to flatter narrow, darker rowhomes.
- Share a shot list that includes exterior, entry, main living spaces, kitchen, primary suite, baths, stairs, rear yard, and any special features.
- Consider twilight or virtual twilight for the exterior if timing allows.
Compliance and peace of mind
- If your property sits in a historic district, check requirements before changing exterior elements like doors or shutters.
- Confirm smoke and carbon monoxide detectors are present and working before showings.
- Gather documentation for recent electrical, plumbing, or structural work, including permits and receipts.
Ready to list with less stress?
If you want a clean, cohesive look that honors your rowhome’s details and shines in photos, our design-forward team can help. From in-house styling through our Philadelphia Design Collective to professional photography, vendor coordination, and full listing execution, we make prep feel manageable and strategic. When you are ready, reach out to the Philly Home Collective to plan your early-spring launch.
FAQs
What paint colors work best for Graduate Hospital rowhomes?
- Warm whites, soft greige, and light warm grays create bright, photo-friendly rooms while keeping older trim and woodwork feeling inviting.
How should I handle lighting in narrow rooms?
- Layer light with a low-profile ceiling fixture, plus table or floor lamps, and use 2700–3000K bulbs with CRI 90 or higher for accurate color.
Do I need to replace my cabinet doors to modernize the kitchen?
- Not always. A deep clean, coordinated hardware, and updated lighting often deliver a strong visual upgrade without new doors.
What quick upgrades make the biggest impact on photos?
- Fresh paint, updated fixtures, cohesive hardware, decluttering with simple vignettes, and a polished front stoop tend to deliver the best ROI.
How far in advance should I start prepping for an early-spring listing?
- Begin 2–6 weeks out, focusing first on paint, lighting, and hardware, then schedule photography in the final 1–3 days before you list.
How do I make a small rear patio feel valuable?
- Clear clutter, add a compact bistro set and a few potted plants, then photograph from inside looking out to show indoor-outdoor flow.